
Calculating Look Angles
Now that you know how to pick a sensor, let’s learn how to calculate look angles between a sensor and a satellite. This will help you determine when and where a satellite will be visible from a specific ground station.
What are Look Angles?
Look angles consist of four main components:
- Time: The moment when the satellite’s position is calculated
- Azimuth (Az): The horizontal angle measured clockwise from true north (0-360 degrees)
- Elevation (El): The vertical angle above the horizon (0-90 degrees)
- Range: The distance between the sensor and the satellite (usually in kilometers)
There is also one optional component:
- Type: The type of entry (e.g., rise, set, or maximum elevation)
Using the Look Angles Plugin
-
Select a Sensor and Satellite:
- Choose a sensor using the Sensor List (as learned in the previous guide)
- Select a satellite using the search function (covered in the “Find a Satellite” guide)
-
Open the Look Angles Plugin:
- Find the “Look Angles” icon in the bottom menu
- Click on this icon to open the Look Angles side menu
-
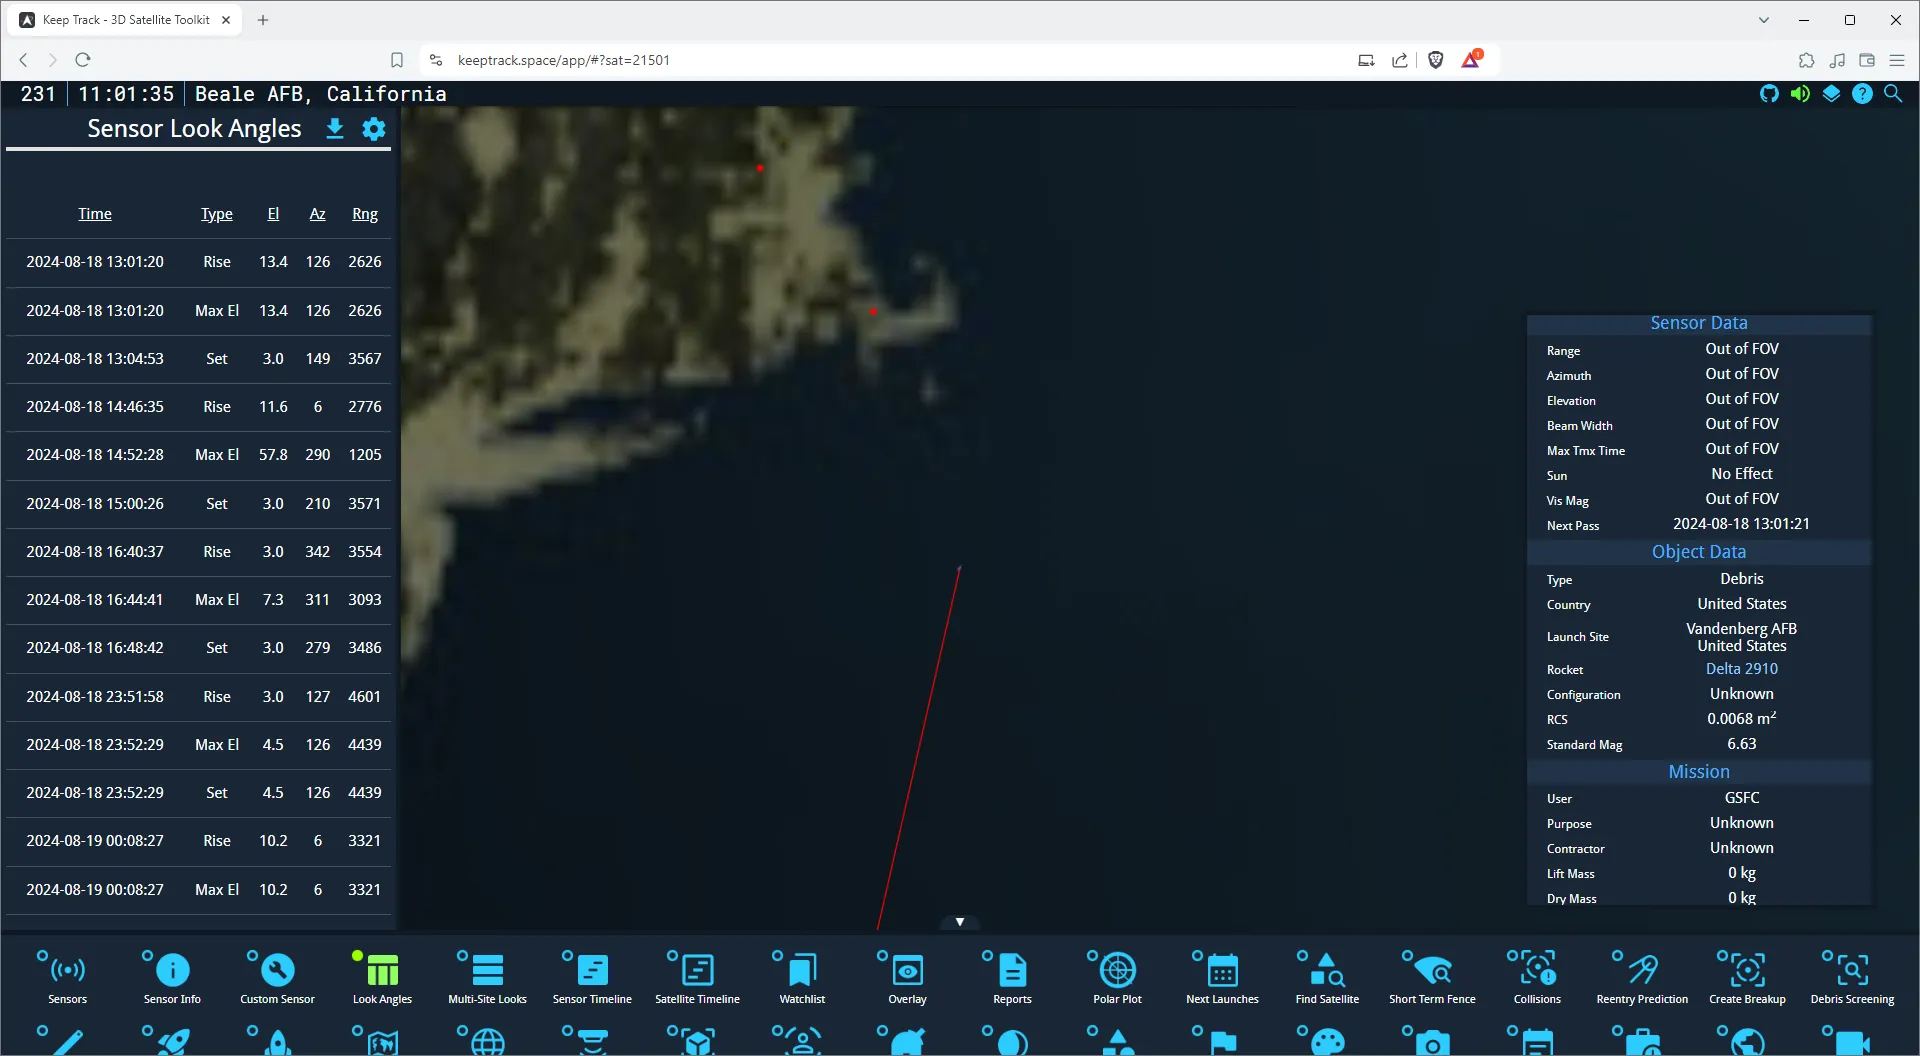
View Look Angle Data:
- The side menu will display a table with look angle information
- Each row shows the Time (UTC), Type of entry, Azimuth, Elevation, and Range
-
Interpret the Data:
- Rise Time: When the satellite becomes visible
- Set Time: When the satellite disappears from view
- Max Elevation: The highest point of the pass, best time for observation
-
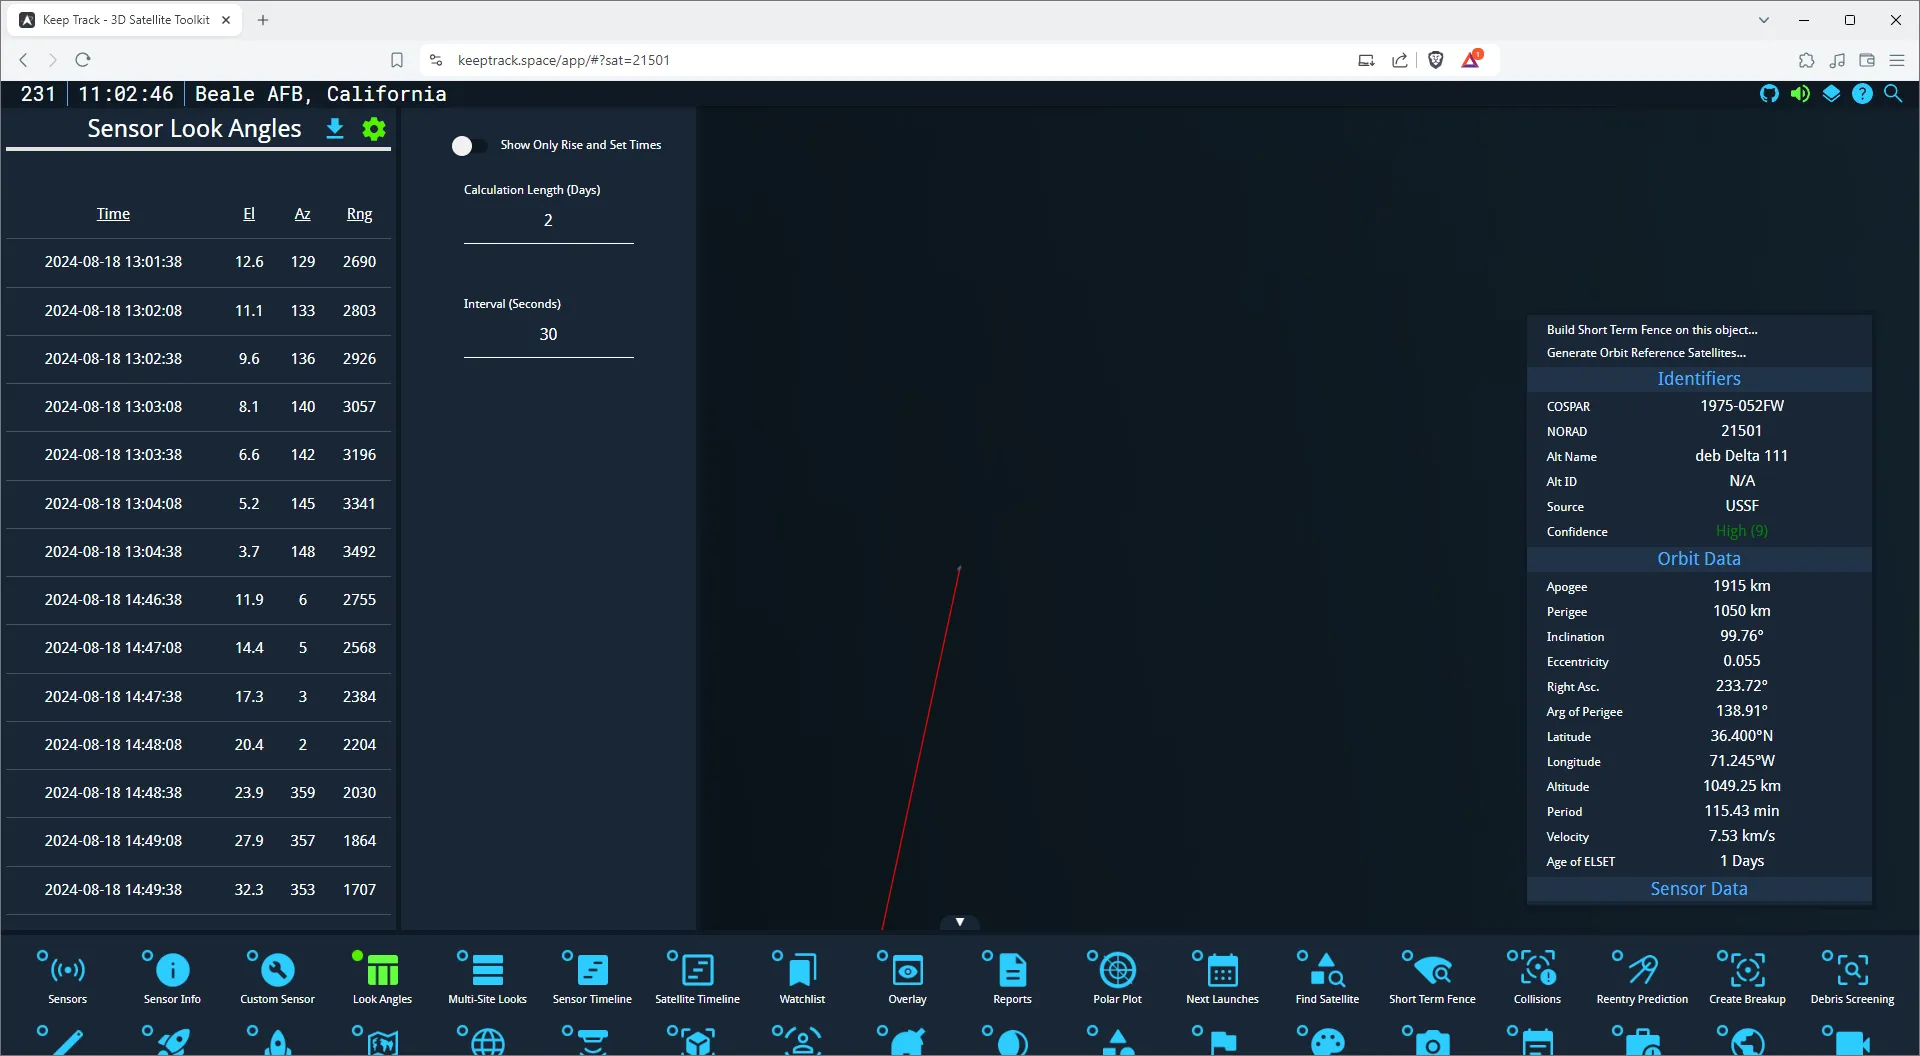
Adjust Calculation Settings (Optional):
- Click the settings icon (gear) in the Look Angles menu
- You can modify:
- Calculation Length (in days)
- Interval (in seconds) between each calculation
- Toggle “Show Only Rise and Set Times” for a condensed view
- You have to click somewhere else or press Enter to apply the changes
Example: Calculating Look Angles for the ISS
Let’s calculate look angles for the International Space Station (ISS) from the Eglin radar:
- Select the Eglin radar sensor (as shown in the previous guide)
- Search for and select the ISS (ZARYA) satellite
- Open the Look Angles plugin
- Observe the look angle data in the table
- Look for times when the Range is less than 2000 km
- If no passes are within 2000 km, try adjusting the calculation length to 4 days
Practice Exercise
Try calculating look angles for these scenarios:
- A GPS satellite (e.g., GPS IIF-1) from the NESS (GEODSS) sensor in Diego Garcia
- The Hubble Space Telescope from Fylingdales (SSPAR) in the UK
- A geostationary satellite (e.g., GOES 16) from Millstone (Haystack) in Massachusetts
Exporting Look Angle Data
To save your look angle calculations:
- Click the download icon in the Look Angles menu
- The data will be saved as a CSV file, which you can open in spreadsheet software for further analysis
By mastering look angle calculations, you’re taking a big step in understanding satellite visibility and tracking. This skill is crucial for planning observations, predicting satellite passes, and comprehending the capabilities of different ground stations.